What is the role of sensors in IoT?
Lecture 3 – Sensors and Actuators
IoT sensors and actuators their types, calibration, and signal handling with practical lab exercises using DHT22, ultrasonic sensors, and PWM outputs.
Introduction
Sensors and actuators are the heart of the Internet of Things (IoT). They bridge the physical and digital worlds sensors detect and measure changes, while actuators perform actions in response to those measurements.
In this lecture, you’ll explore how these components work together and learn to use them through practical lab activities.
What Are Sensors?
Sensors are devices that convert physical quantities (like temperature, light, motion, or pressure) into electrical signals that microcontrollers can process.
Types of Sensors
| Type | Description | Example |
|---|---|---|
| Analog Sensors | Produce continuous signals that vary with the measured quantity. | Temperature Sensor (LM35), LDR |
| Digital Sensors | Output discrete (ON/OFF or numeric) signals that can be directly read by microcontrollers. | DHT22, Ultrasonic Sensor |
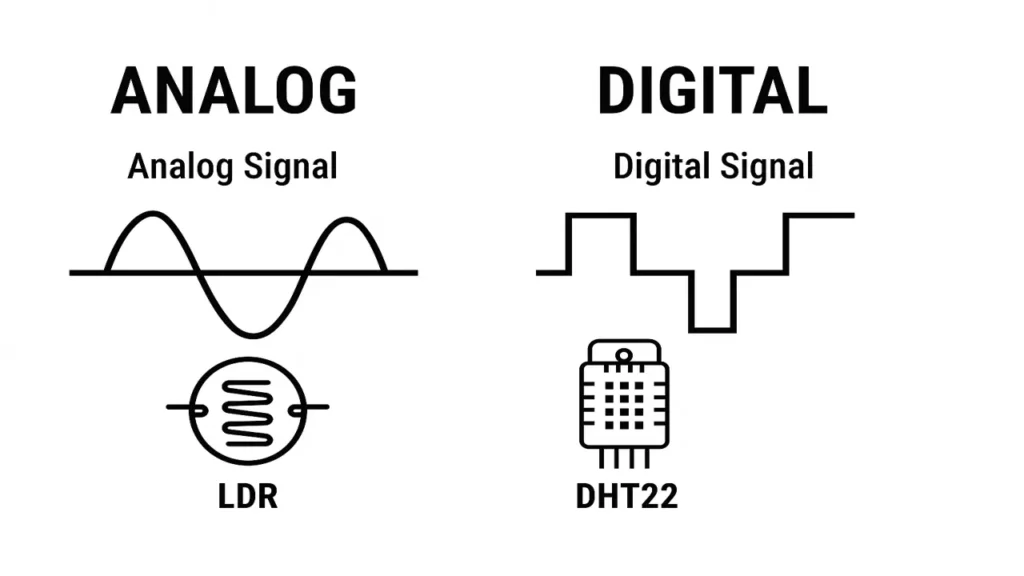
Key Difference: Analog vs Digital
- Analog sensors output voltage that changes smoothly with the measured value.
- Digital sensors send data as binary pulses or packets, making them more accurate and less affected by noise.
What Are Actuators?
Actuators are devices that convert electrical signals into physical actions such as movement, rotation, or light.
| Type | Description | Examples |
|---|---|---|
| Electrical Actuators | Use electricity to produce motion. | Motors, Relays |
| Mechanical Actuators | Produce linear or rotary movement. | Servo motors, Gears |
| Electromechanical Actuators | Combine both electrical and mechanical properties. | Solenoids, Robotic Arms |
Actuators help IoT systems “respond” to their environment for example, turning on a fan when a sensor detects high temperature.
Sensor Calibration and Signal Handling
Before sensors can produce accurate data, they must be calibrated that is, adjusted to ensure their readings match real-world values.
Calibration Steps
- Measure the actual value using a reliable instrument.
- Compare it to the sensor’s reading.
- Adjust constants or offsets in your code to correct differences.
Signal Handling involves cleaning, amplifying, and converting sensor signals so they can be read accurately by a microcontroller (for example, converting analog voltage to digital values using ADC).
Laboratory Exercise Working with Sensors and Actuators
Objective
To explore how sensors gather data and how actuators respond, using DHT22, an ultrasonic sensor, and PWM control.
Hardware Required
- Arduino UNO or ESP32
- DHT22 Temperature and Humidity Sensor
- Ultrasonic Sensor (HC-SR04)
- LED or Servo Motor for PWM Output
- Breadboard and Jumper Wires
Step 1 – Read Temperature and Humidity (DHT22)
Use the DHT22 sensor to measure real-time temperature and humidity.
#include "DHT.h"
#define DHTPIN 2
#define DHTTYPE DHT22
DHT dht(DHTPIN, DHTTYPE);

void setup() {
  Serial.begin(9600);
  dht.begin();
}

void loop() {
  float t = dht.readTemperature();
  float h = dht.readHumidity();
  Serial.print("Temp: "); Serial.print(t); Serial.print("°C ");
  Serial.print("Humidity: "); Serial.print(h); Serial.println("%");
  delay(2000);
}
This shows how a digital sensor transmits clear numeric data over a single pin.
Step 2 – Measure Distance with Ultrasonic Sensor
#define trigPin 5
#define echoPin 18

void setup() {
  Serial.begin(9600);
  pinMode(trigPin, OUTPUT);
  pinMode(echoPin, INPUT);
}

void loop() {
  digitalWrite(trigPin, LOW);
  delayMicroseconds(2);
  digitalWrite(trigPin, HIGH);
  delayMicroseconds(10);
  digitalWrite(trigPin, LOW);

  long duration = pulseIn(echoPin, HIGH);
  float distance = (duration * 0.034) / 2;

  Serial.print("Distance: "); Serial.print(distance); Serial.println(" cm");
  delay(1000);
}
This demonstrates time-of-flight measurement converting sound-wave timing into distance.
Step 3 – Actuate Using PWM Output
Now, use PWM (Pulse Width Modulation) to control an LED’s brightness or a servo motor’s position.
int led = 13;
void setup() { pinMode(led, OUTPUT); }
void loop() {
  for (int i=0; i<255; i++) { analogWrite(led, i); delay(10); }
  for (int i=255; i>0; i--) { analogWrite(led, i); delay(10); }
}
This simulates how actuators respond to processed sensor data.
The approach followed at E Lectures reflects both academic depth and easy-to-understand explanations.
Summary
After completing this lecture and lab, you will be able to:
- Differentiate between analog and digital sensors.
- Connect and calibrate sensors for accurate data.
- Generate PWM signals to control actuators.
- Understand how IoT systems sense and act simultaneously.
People also ask:
Sensors detect changes in the environment such as temperature, light, motion, or distance — and convert those physical changes into electrical signals that can be processed by a microcontroller like Arduino or ESP32.
Actuators perform actions based on signals received from the controller. For example, a fan turning on when a temperature sensor detects heat, or a servo motor rotating when a proximity sensor triggers it.
Analog sensors produce a continuous signal that changes smoothly with the measured variable (e.g., LDR light sensor).
Digital sensors provide discrete or numerical outputs that are easier for microcontrollers to read (e.g., DHT22 temperature sensor).
Calibration ensures the sensor’s readings are accurate and match real-world values. Without calibration, even a good-quality sensor might give slightly incorrect results.
Signal handling involves filtering, amplifying, and converting the sensor’s electrical signal so that it can be correctly processed by the microcontroller. For example, converting an analog voltage into a digital value using an ADC (Analog-to-Digital Converter).