What’s an event listener in JavaScript?
Lecture 6 – Event Handling & Form Validation
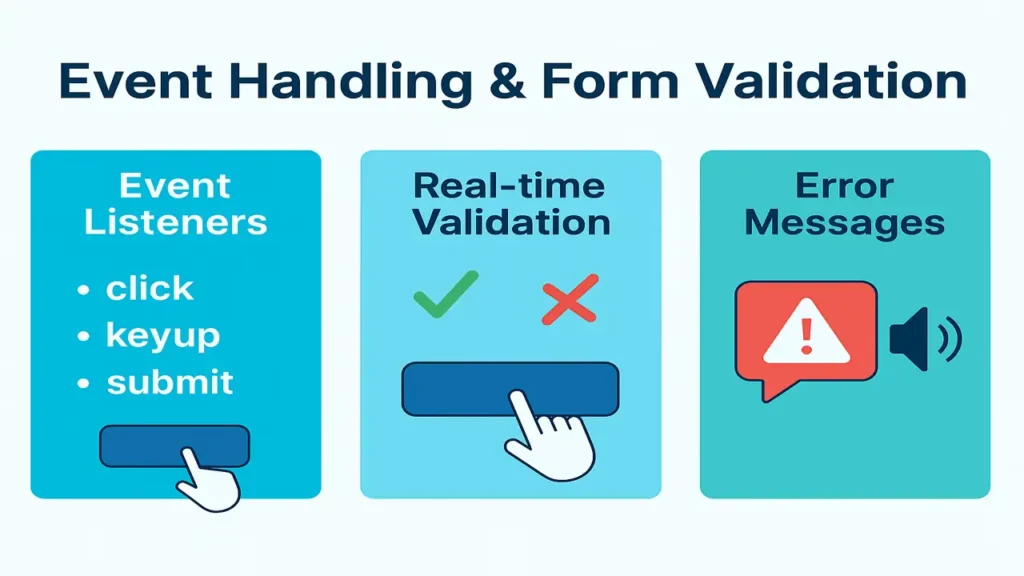
JavaScript event handling (click, keyup, submit), real-time form validation, and accessible error messages. Includes a complete login form with JS validation.
Introduction
Web apps feel “alive” when they react to user actions. In this lecture you’ll learn how to listen for events (click, keyup, submit), validate inputs in real time, and show helpful error messages without reloading the page.
Event Listeners (click, keyup, submit)
addEventListener basics
<button id="buy">Buy</button>
<input id="name" type="text" placeholder="Your name">
<form id="signup">…</form>
const buyBtn = document.getElementById("buy");
const nameInput = document.getElementById("name");
const form = document.getElementById("signup");
buyBtn.addEventListener("click", () => console.log("Buying…"));
nameInput.addEventListener("keyup", (e) => console.log(e.target.value));
form.addEventListener("submit", (e) => {
e.preventDefault(); // stop full page reload
console.log("Form submitted via JS");
});Event object tips
element.addEventListener("click", (event) => {
  console.log(event.type, event.target); // metadata + source node
});
Bubbling & Delegation (performance win)
// One listener on a parent can manage many child clicks
document.querySelector(".list").addEventListener("click", (e) => {
  if (e.target.matches(".list button.remove")) {
    e.target.closest("li").remove();
  }
});
Real-Time Input Validation (keyup/input)
HTML5 first, JS second
Use built-in attributes: required, minlength, maxlength, type="email", pattern, etc. Then enhance with JS.
<input id="email" type="email" required placeholder="you@example.com">
<small id="emailHelp" class="help"></small>
const email = document.getElementById("email");
const emailHelp = document.getElementById("emailHelp");
const emailRe = /^[^\s@]+@[^\s@]+\.[^\s@]{2,}$/i;
email.addEventListener("input", () => {
if (email.value === "") {
setHelp(emailHelp, "Email is required", "error");
} else if (!emailRe.test(email.value)) {
setHelp(emailHelp, "Enter a valid email like name@site.com", "error");
} else {
setHelp(emailHelp, "Looks good ✓", "ok");
}
});
function setHelp(el, msg, type) {
el.textContent = msg;
el.dataset.state = type; // style via [data-state="error|ok"]
}Showing Error Messages Dynamically (UX + A11y)
Markup pattern (accessible)
<label for="password">Password</label>
<input id="password" type="password" aria-describedby="passHelp" required minlength="8">
<small id="passHelp" class="help" role="status" aria-live="polite"></small>
Styling (example)
input[data-state="error"] { border-color:#e11d48; background:#fff1f2; }
input[data-state="ok"]    { border-color:#16a34a; background:#f0fdf4; }
.help { display:block; margin-top:.35rem; font-size:.9rem; }
Logic
const pass = document.getElementById("password");
const passHelp = document.getElementById("passHelp");

pass.addEventListener("input", () => {
  if (pass.value.length < 8) {
    pass.dataset.state = "error";
    passHelp.textContent = "At least 8 characters.";
  } else {
    pass.dataset.state = "ok";
    passHelp.textContent = "Strong enough ✓";
  }
});
Constraint Validation API (native)
if (!pass.checkValidity()) {
  // e.g., minlength failed
  pass.reportValidity(); // native tooltip (optional)
}Practical: Login Form with JavaScript Validation & Alerts
HTML
<form id="login" novalidate>
  <h2>Login</h2>
  <label>Email</label>
  <input id="loginEmail" type="email" placeholder="you@example.com" required aria-describedby="loginEmailHelp">
  <small id="loginEmailHelp" class="help"></small>

  <label>Password</label>
  <input id="loginPass" type="password" required minlength="8" aria-describedby="loginPassHelp">
  <small id="loginPassHelp" class="help"></small>

  <button type="submit">Sign In</button>
  <div id="alert" role="alert" hidden></div>
</form>
CSS (quick)
form { width:min(480px,90vw); margin:2rem auto; display:grid; gap:.75rem; }
#alert[hidden]{display:none;}
#alert{padding:.75rem; border-radius:.5rem;}
#alert.error{background:#fee2e2; color:#991b1b; border:1px solid #fecaca;}
#alert.success{background:#dcfce7; color:#14532d; border:1px solid #bbf7d0;}
JavaScript
const login = document.getElementById("login");
const email = document.getElementById("loginEmail");
const pass  = document.getElementById("loginPass");
const helpE = document.getElementById("loginEmailHelp");
const helpP = document.getElementById("loginPassHelp");
const alertBox = document.getElementById("alert");

const emailRe = /^[^\s@]+@[^\s@]+\.[^\s@]{2,}$/i;

const validateEmail = () => {
  if (!email.value)      { setFail(email, helpE, "Email is required"); return false; }
  if (!emailRe.test(email.value)) { setFail(email, helpE, "Enter a valid email"); return false; }
  setOk(email, helpE, "Looks good ✓"); return true;
};
const validatePass = () => {
  if (!pass.value)       { setFail(pass, helpP, "Password is required"); return false; }
  if (pass.value.length < 8) { setFail(pass, helpP, "At least 8 characters"); return false; }
  setOk(pass, helpP, "Strong enough ✓"); return true;
};

email.addEventListener("input", validateEmail);
pass.addEventListener("input", validatePass);

login.addEventListener("submit", (e) => {
  e.preventDefault();
  const ok = validateEmail() & validatePass(); // bitwise here is fine for both calls
  if (!ok) {
    showAlert("Please fix the highlighted fields.", "error");
    return;
  }
  // pretend authentication…
  showAlert("Logged in successfully!", "success");
  // next: call fetch('/api/login', {method:'POST', body:…})
});

function setFail(input, help, msg){
  input.dataset.state = "error"; help.textContent = msg;
}
function setOk(input, help, msg){
  input.dataset.state = "ok"; help.textContent = msg;
}
function showAlert(msg, type){
  alertBox.hidden = false;
  alertBox.className = type === "error" ? "error" : "success";
  alertBox.textContent = msg;
}
Best Practices & Gotchas
- Prefer HTML5 validation attributes first; enhance with JS.
- Always call
e.preventDefault()on custom form handling. - Provide clear messages and visible focus styles.
- Mark errors with aria-live regions for screen readers.
- Don’t block typing with aggressive rules; validate on blur/input, not every keystroke if heavy.
- Never trust client-side only re-validate on the server.
The approach followed at E Lectures reflects both academic depth and easy-to-understand explanations.
Summary
You can now listen to click / keyup / submit, validate fields as the user types, and display friendly, accessible error messages. These skills make forms faster, clearer, and more reliable.
People also ask:
A function that runs when something happens on the page (click, keyup, submit, etc.).
button.addEventListener("click", () => console.log("clicked"));click: fires on mouse/tap press.
keyup: when a key is released.
input: whenever the field’s value changes (better for live validation).
It stops the browser’s default submit (page reload) so you can validate and submit via JS.
form.addEventListener("submit", e => { e.preventDefault(); /* validate */ });No. Use HTML5 attributes first (required, type="email", minlength") and server-side validation as the final gate.
Pair inputs with <label for>.
Use aria-describedby to associate helper text.
Announce updates with role="status" or aria-live="polite".